
But the work has only just begun...
Once all of the wood is cut, the brackets epoxied into place, and I've had a successful dry fit, it's time to take the whole thing apart, and apply the wax over-structure. I want each slat to be uniform in dimension, though unique in it's hand modeled texture. I also want the 2 frame pieces to be uniform, but unique in texture.

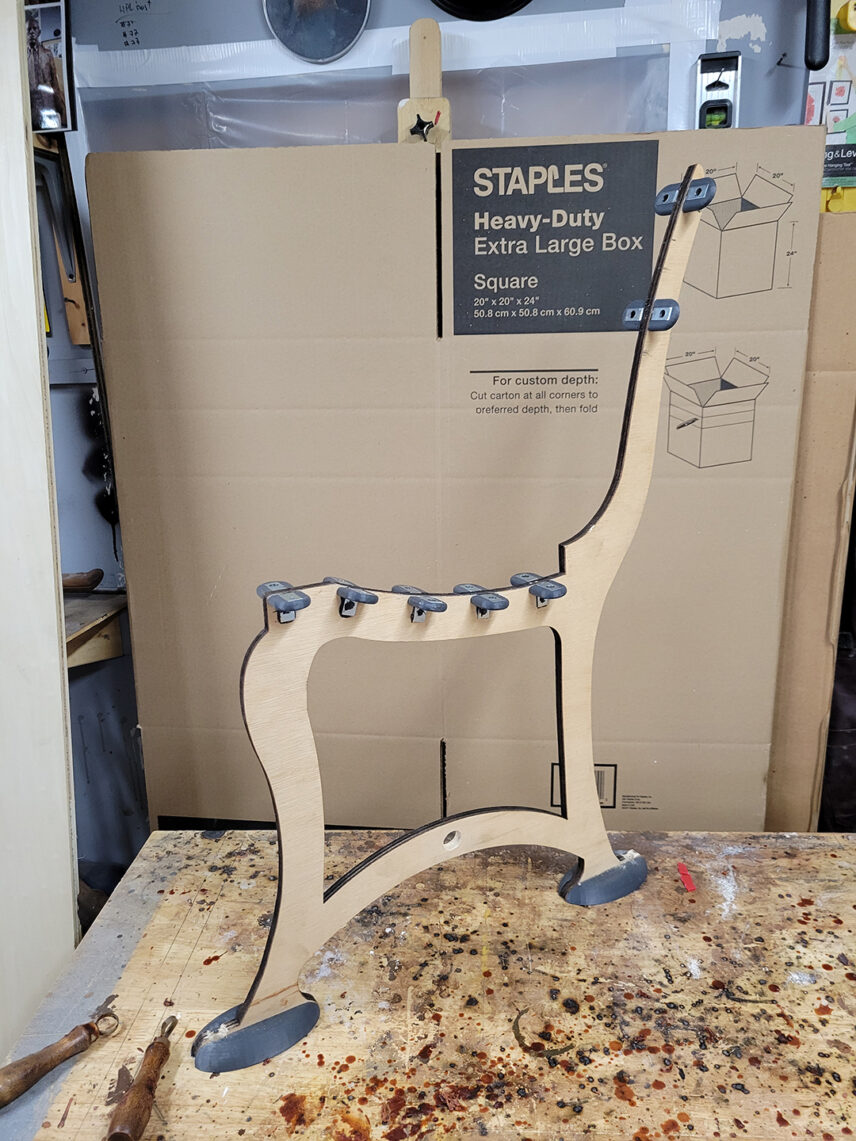
Now after all that...let's take it apart.

Jig that holds wooden slats as they're covered with wax.
Like a Chocolatier, I want the piece of wood to be the filling in a "wax" candy bar. I build a jig that I can put the wooden slat inside of, then pour hot wax over, to the proper thickness. As the wax cools, I scrape it with a piece of textured wood to keep it the right thickness, and texture the surface with a brush, for the right look. I want it to look like a normal bench from a distance, but appear as if painted in 3 dimensions when close up.
The 2 frame supports were laser cut from a piece of 1/2 inch plywood. I want there to be a nice 3/8 inch raised half moon ridge along the entire edge of the frame piece, on both sides.

Wax-covered frames ready for adding ridges.

Wood dowels encased in wax.

The wax dowels adhered to the frames give it a more realistic look.

Can't forget those details and that texture!
First I brush on a thin layer of wax, so anything I add to the piece will stick. To keep it uniform, I make a rubber mold cast of a 3 foot piece of 3/8 inch round wood dowel. I cast one wax dowel at a time, and bend them around the edge of each frame while they are warm enough not to crack. I secure them in place by brushing on hot wax, and filling in the gaps with slightly cooler wax, on a metal pallet knife.

With all our dowels secured in place, its time to move on...

Look at how much texture the wax adds to the frame!
When the silhouette and form is right, I go back and add multiple layers of brushed on wax until I reach the desired thickness and texture. When all the parts have been coated and textured, I reassemble the bench, making sure to place wax paper between each piece. Otherwise, all the pieces would stick together, and get torn apart when disassembled again.

Now we need to reassemble this...temporarily, anyway.

How else will we be able to make sure it's coming out how we envisioned?
At this point the bench is 90% complete. Now I need to recheck all the dimensions and measurements I took from my live model, and figure out how to make the steel skeleton for the wax figure's armature.

Let's double check our measurements before we get too far in...

Using wax paper in between our components helps protect the pieces from getting damaged during disassembly.

With our measurements looking good, we're ready to start tackling the star of the piece; the Bannister Statue.